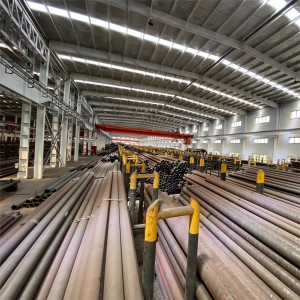
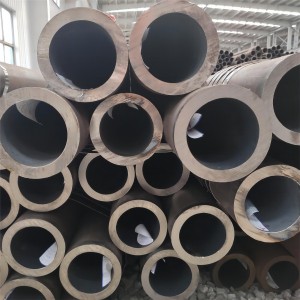
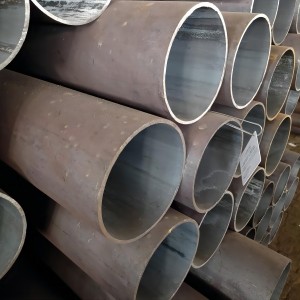
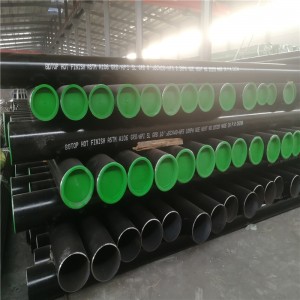
ASTM A500 is cold-formed welded and seamless carbon steel structural tubing for welded, riveted, or bolted bridge and building structures and general structural purposes.
Grade C pipe is one of the grades with a high yield strength of not less than 345 MPa and a tensile strength of not less than 425 MPa.
If you want to know more about ASTM A500, you can click to check it out!
ASTM A500 classifies steel pipe into three grades, grade B, grade C, and grade D.
CHS: Circular hollow sections.
RHS: Square or rectangular hollow sections.
EHS: Elliptical hollow sections.
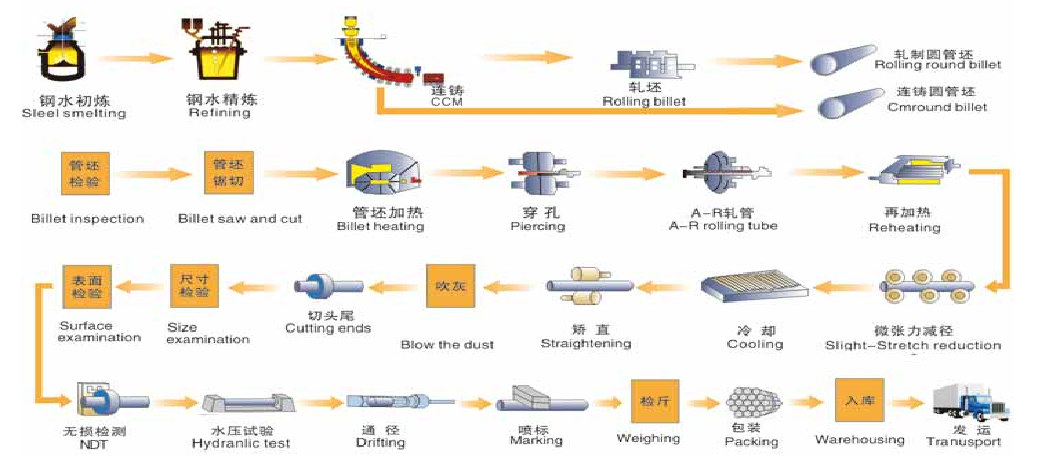
The steel shall be made by one or more of the following processes: basic oxygen or electric furnace.
The tubing shall be made by a seamless or welding process.
Welded tubing shall be made from flat-rolled steel by the electric-resistance-welding process (ERW). The longitudinal butt joint of welded tubing shall be welded across its thickness in such a manner that the structural design strength of the tubing section is assured.
ASTM A500 Grade C can be annealed or stress-relieved.
Annealing is accomplished by heating the tube to a high temperature and then slowly cooling it. Annealing rearranges the microstructure of the material to improve its toughness and uniformity.
Stress relieving is generally accomplished by heating the material to a lower temperature (usually lower than that of annealing) then holding it for a period of time and then cooling it. This helps prevent distortion or rupture of the material during subsequent operations such as welding or cutting.
Frequency of tests: Two specimens of pipe taken from each lot of 500 pieces or fraction thereof, or two specimens of flat rolled material taken from each lot of the corresponding number of pieces of flat rolled material.
Experimental methods: Methods and practices relating to chemical analysis shall be in accordance with Test Methods, Practices, and Terminology A751.
| Chemical Requirements,% | |||
| Composition | Grade C | ||
| Heat Analysis | Product Analysis | ||
| C (Carbon) A | max | 0.23 | 0.27 |
| Mn (Manganese) A | max | 1.35 | 1.40 |
| P (Phosphorus) | max | 0.035 | 0.045 |
| S(Sulfur) | max | 0.035 | 0.045 |
| Cu(Copper) B | min | 0.20 | 0.18 |
| A For each reduction of 0.01 percentage point below the specified maximum for carbon, an increase of 0.06 percentage point above the specified maximum for manganese is permitted, up to a maximum of 1.50 % by heat analysis and 1.60 % by-product analysis. B lf copper-containing steel is specified in the purchase order. |
|||
Tensile specimens shall comply with the applicable requirements of Test Methods and Definitions A370, Appendix A2.
| Tensile Requirements | ||
| List | Grade C | |
| Tensile strength, min | psi | 62,000 |
| MPa | 425 | |
| Yield strength, min | psi | 50,000 |
| MPa | 345 | |
| Elongation in 2 in. (50 mm), min, C | % | 21 B |
| B Applies to specified wall thicknesses (t ) equal to or greater than 0.120 in. [3.05mm]. For lighter specified wall thicknesses, the minimum elongation values shall be by agreement with the manufacturer. C The minimum elongation values specified apply only to tests performed prior to shipment of the tubing. |
||
In a test, the specimen is placed in a tensile testing machine and then slowly stretched until it breaks. Throughout the process, the testing machine records the stress and strain data, thus generating a stress-strain curve. This curve allows us to visualize the entire process from elastic deformation to plastic deformation to rupture, and to obtain the yield strength, tensile strength and elongation data.
Specimen Length: The length of the specimen used for testing shall not be less than 2 1/2 in (65 mm).
Ductility test: Without cracking or fracture, the specimen is flattened between parallel plates until the distance between the plates is less than the "H" value calculated by the following formula:
H=(1+e)t/(e+t/D)
H = distance between flattening plates, in. [mm],
e= deformation per unit length (constant for a given grade of steel, 0.07 for Grade B, and 0.06 for Grade C),
t= specified wall thickness of tubing, in. [mm],
D = specified outside diameter of tubing, in. [mm].
Integrity test: Continue to flatten the specimen until the specimen breaks or the opposite walls of the specimen meet.
Failure criteria: Laminar peeling or weak material found throughout the flattening test will be grounds for rejection.
A flaring test is available for round tubes ≤ 254 mm (10 in) in diameter, but is not mandatory.
| List | Scope | Note |
| Outer Diameter (OD) | ≤48mm (1.9 in) | ±0.5% |
| >50mm (2 in) | ±0.75% | |
| Wall Thickness (T) | Specified wall thickness | ≥90% |
| Length (L) | ≤6.5m (22ft) | -6mm (1/4in) - +13mm (1/2in) |
| >6.5m (22ft) | -6mm (1/4in) - +19mm (3/4) | |
| Straightness | Lengths are in imperial units (ft) | L/40 |
| Length units are metric (m) | L/50 | |
| Tolerance requirements for dimensions related to round structural steel | ||
Defect Determination
Surface defects shall be classified as defects when the depth of the surface defect is such that the remaining wall thickness is less than 90% of the specified wall thickness.
Treated marks, minor mold or roll marks, or shallow dents are not considered defects if they can be removed within the specified wall thickness limits. These surface defects do not require mandatory removal.
Defect Repair
Defects with wall thicknesses up to 33% of the specified thickness shall be removed by cutting or grinding until defect-free metal is revealed.
If tack welding is necessary, the wet welding process shall be used.
After refinishing, excess metal shall be removed to obtain a smooth surface.
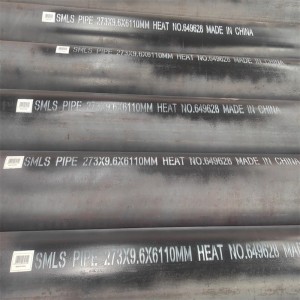
Manufacturer's name. brand, or trademark; the specification designation (year of issue not required); and the grade letter.
For structural pipe with an outside diameter of 4 in [10 cm] or less, identification information is permitted on labels securely attached to each bundle of pipe.
There is also the option of using barcodes as a supplementary identification method, and it is recommended that the barcodes be consistent with AIAG Standard B-1.
1. Building construction: Grade C steel is typically used in building construction where structural support is required. It can be used for mainframes, roof structures, floors, and exterior walls.
2. Infrastructure projects: For bridges, highway sign structures, and railings to provide the necessary support and durability.
3. Industrial facilities: in manufacturing plants and other industrial environments, it can be used for bracing, framing systems, and columns.
4. Renewable energy structures: It can also be used in the construction of wind and solar energy structures.
5. Sports facilities and equipment: structures for sports facilities such as bleachers, goal posts, and even fitness equipment.
6. Agricultural machinery: It can be used to build frames for machinery and storage facilities.
Size: Provide outside diameter and wall thickness for round tubing; provide outside dimensions and wall thickness for square and rectangular tubing.
Quantity: State the total length (feet or meters) or the number of individual lengths required.
Length: Indicate the type of length required - random, multiple, or specific.
ASTM 500 Specification: Provide the year of publication of the referenced ASTM 500 specification.
Grade: Indicate the material grade (B, C, or D).
Material Designation: Indicate that the material is cold-formed tubing.
Manufacturing Method: Declare whether the pipe is seamless or welded.
End Use: Describe the intended use of the pipe
Special Requirements: List any other requirements not covered by the standard specification.
We are a high-quality welded carbon steel pipe manufacturer and supplier from China, and also a seamless steel pipe stockist, offering you a wide range of steel pipe solutions!
If you want to know more information about steel pipe products, you can contact us!


