The main quality testing items and methods of seamless pipes:
1. Check the size and shape of the steel pipe
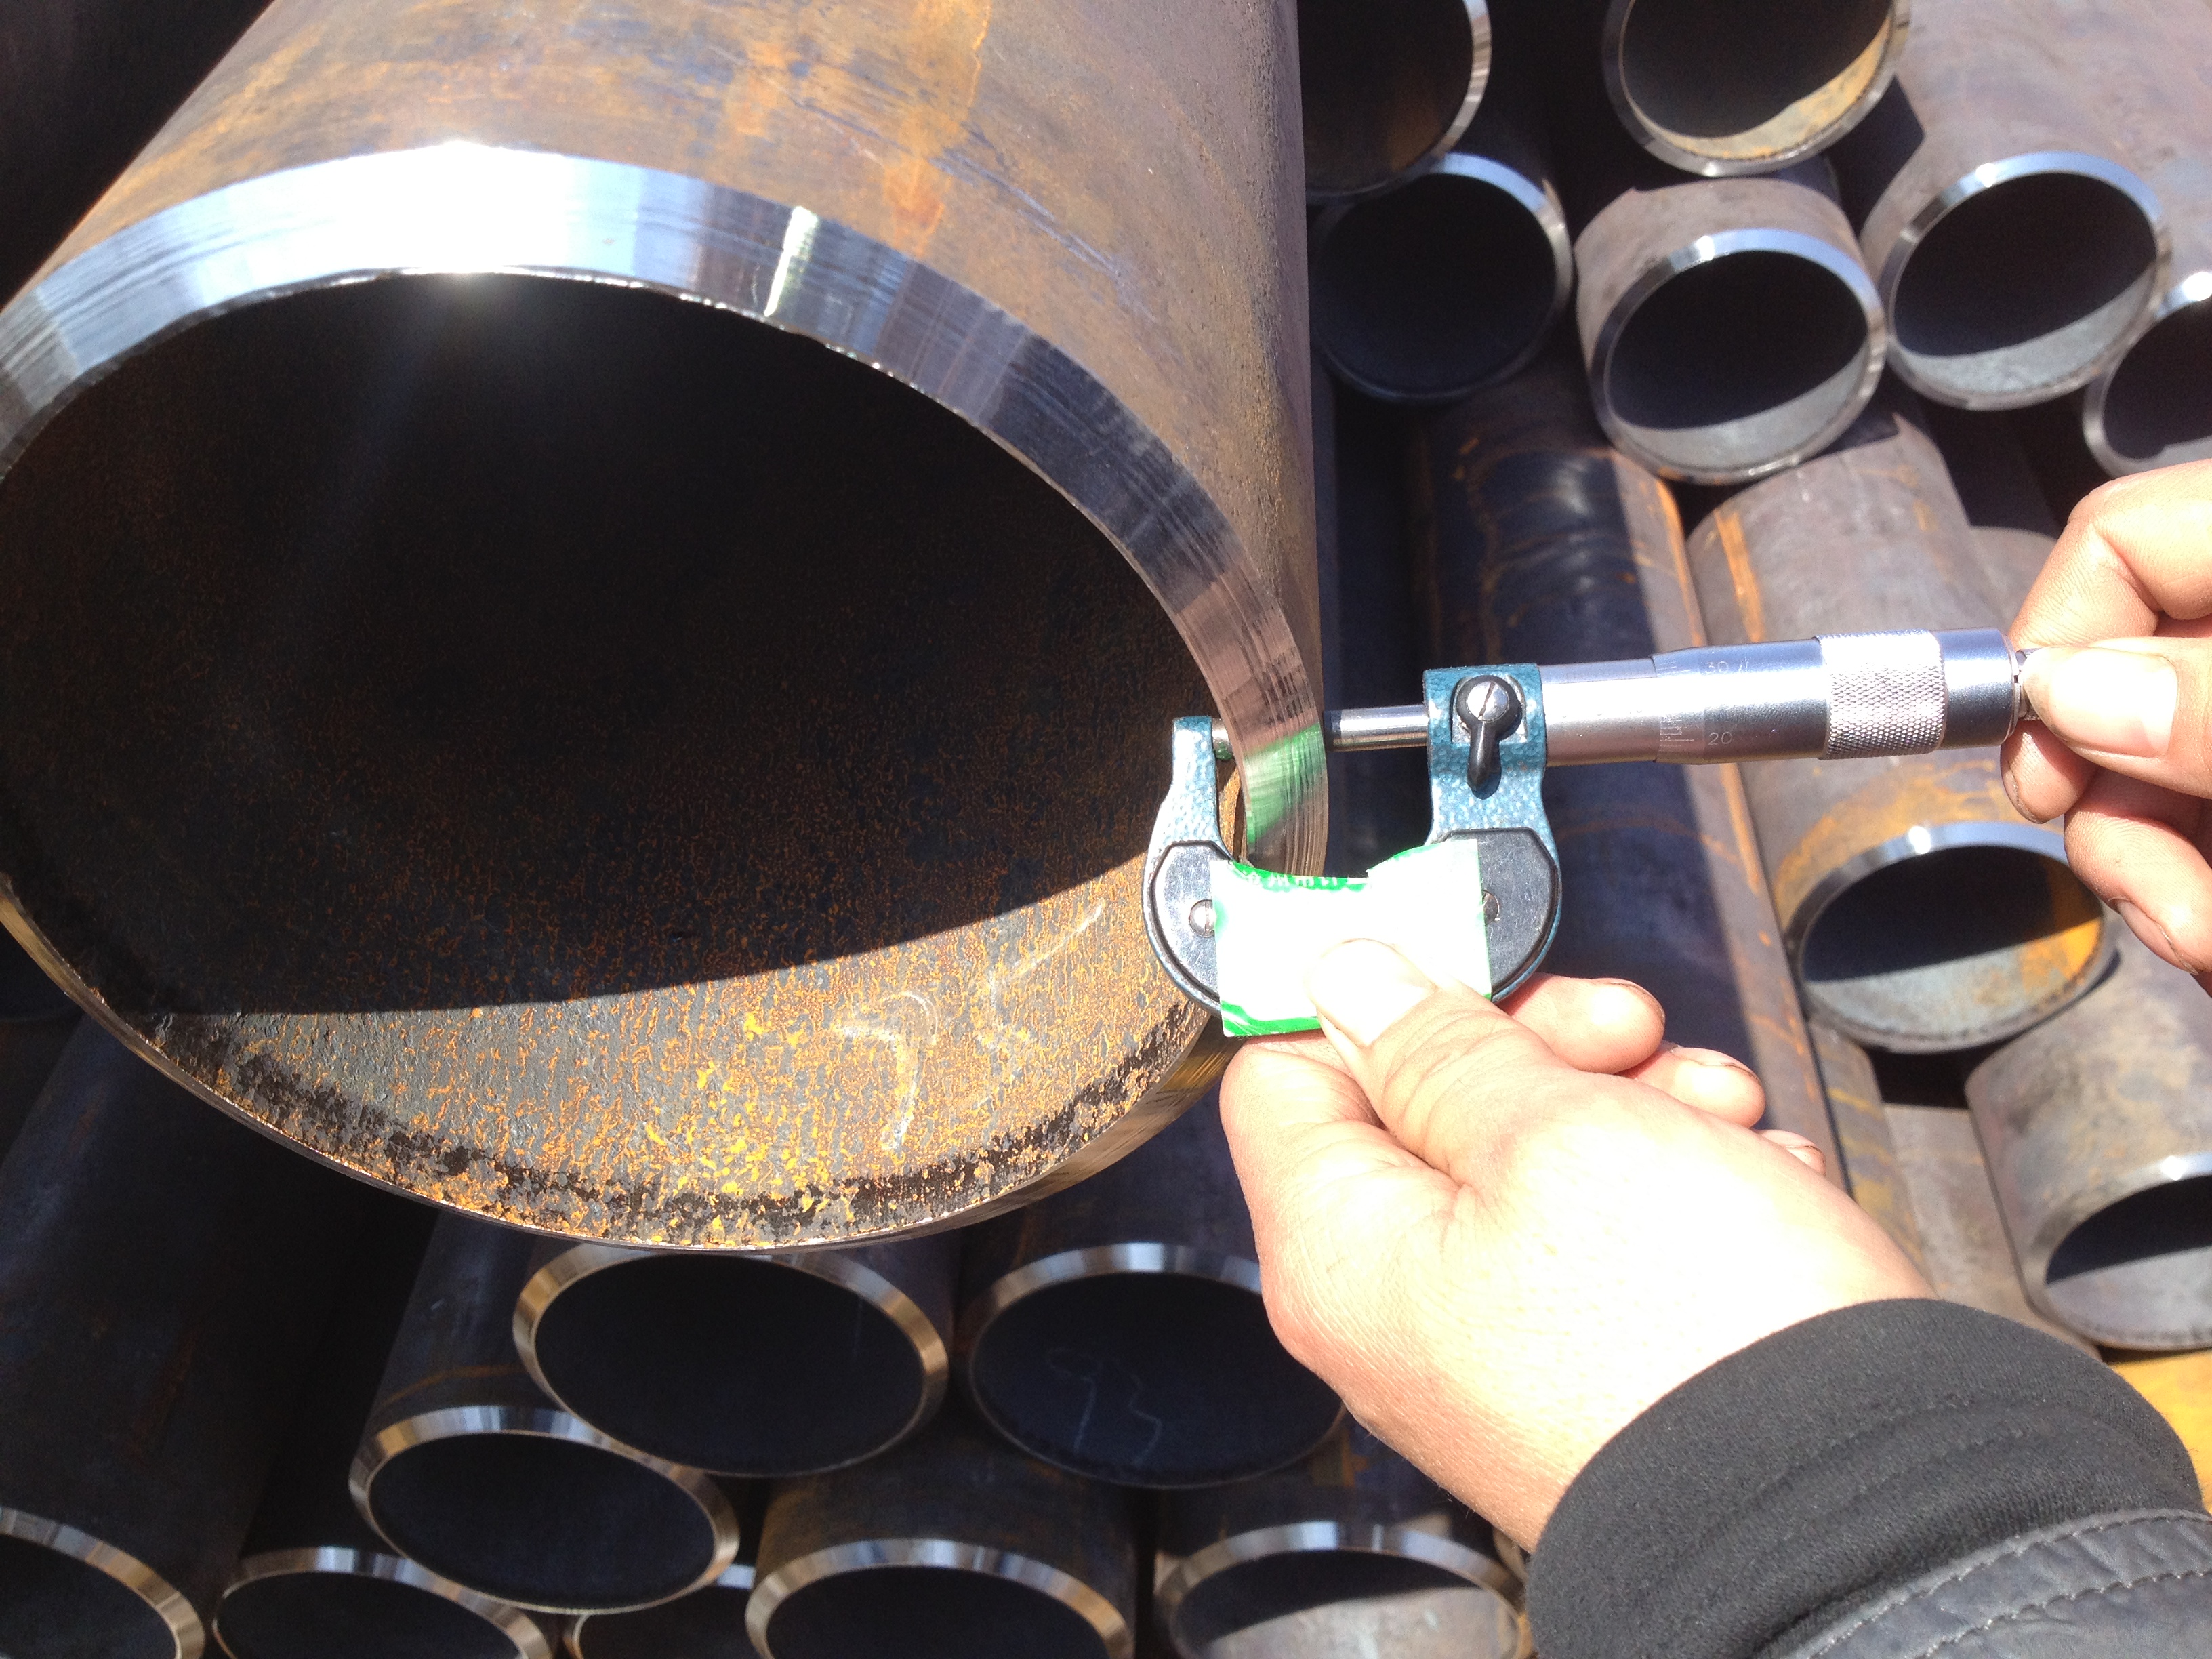
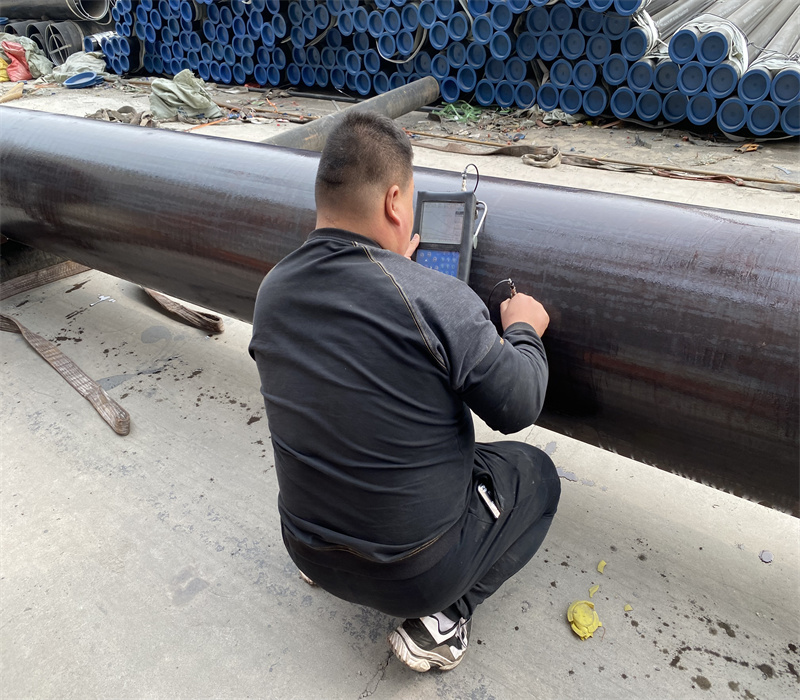
(1) Steel pipe wall thickness inspection: micrometer, ultrasonic thickness gauge, no less than 8 points at both ends and record.
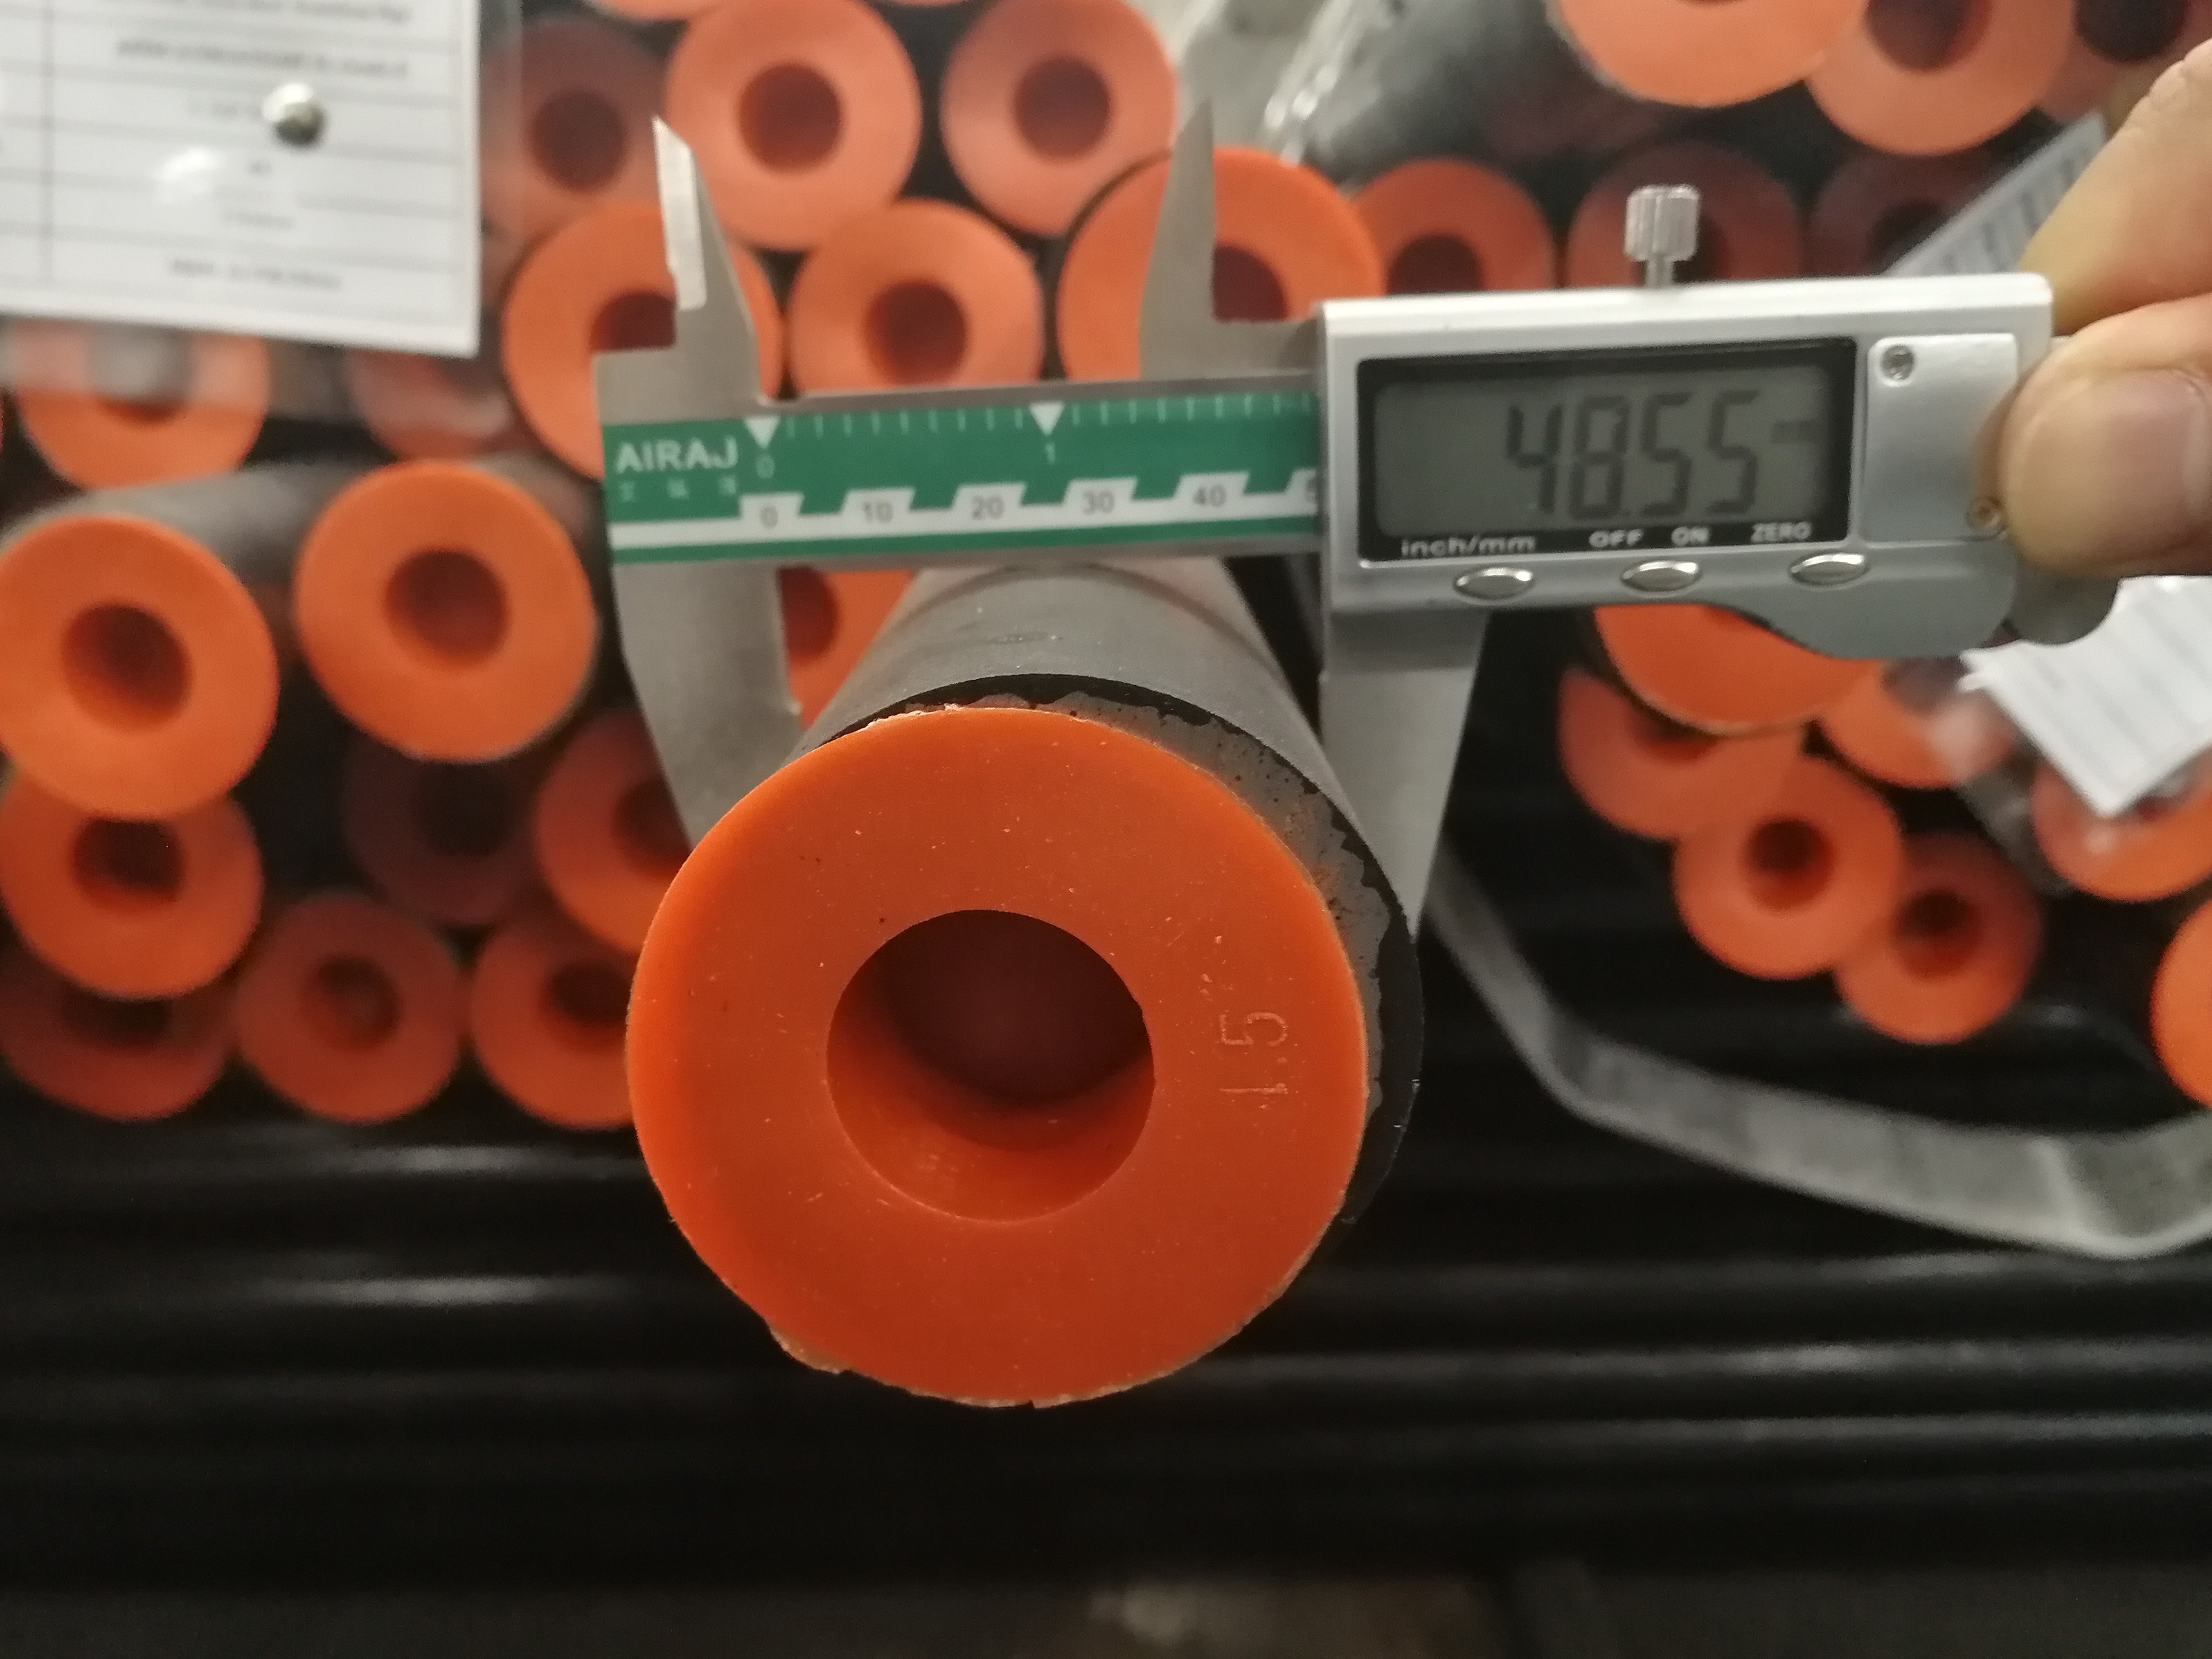
(2) Steel pipe outer diameter and ovality inspection: calliper gauges, vernier calipers, and ring gauges to measure large and small points.
(3) Steel pipe length inspection: steel tape, manual, automatic length measurement.
(4) Inspection of bending degree of steel pipe: ruler, level ruler (1m), feeler gauge, and thin line to measure bending degree per meter and full length bending degree.
(5) Inspection of the bevel angle and blunt edge of the end face of the steel pipe: square ruler, clamping plate.
2. Inspection of the surface quality of seamless pipes
(1) Manual visual inspection: under good lighting conditions, according to the standards, marking reference experience, turn the steel pipe to check carefully. The inner and outer surfaces of seamless steel pipes are not allowed to have cracks, folds, scars, rolling and delamination.
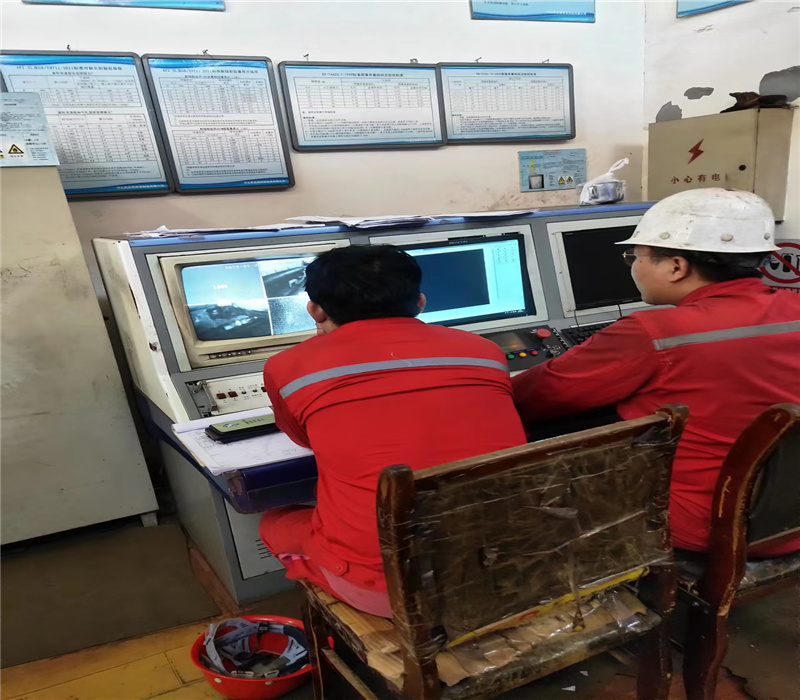
(2) Non-destructive testing inspection:
a. Ultrasonic flaw detection UT: It is sensitive to surface and internal crack defects of various materials with uniform materials.
b. Eddy current testing ET (electromagnetic induction) is mainly sensitive to point (hole-shaped) defects.
c. Magnetic Particle MT and Flux Leakage Testing: Magnetic testing is suitable for the detection of surface and near-surface defects of ferromagnetic materials.
d. Electromagnetic ultrasonic flaw detection: No coupling medium is required, and it can be applied to high-temperature, high-speed, rough steel pipe surface flaw detection.
e. Penetrant flaw detection: fluorescence, coloring, detection of steel pipe surface defects.
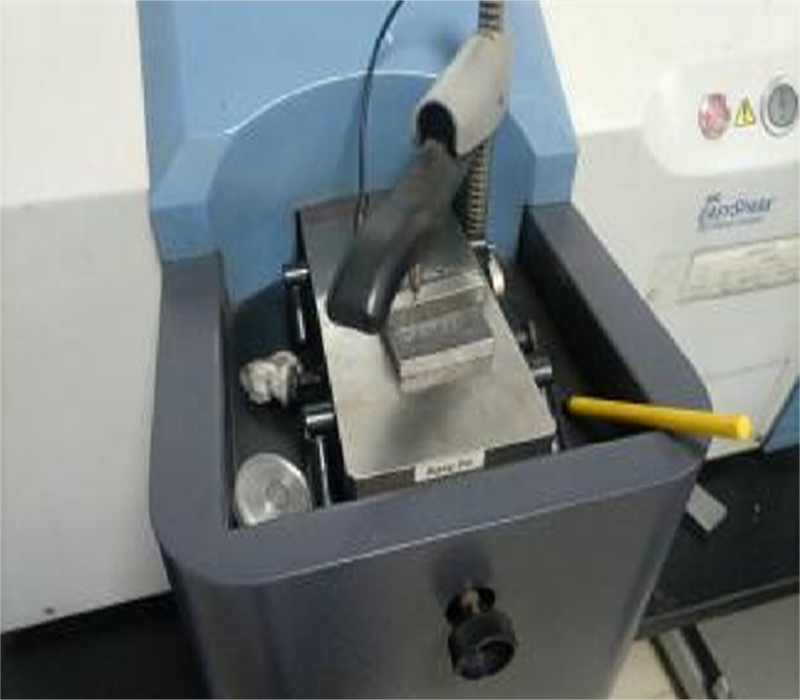
3. Chemical composition analysis: chemical analysis, instrumental analysis (infrared C-S instrument, direct reading spectrometer, N-O instrument, etc.).
(1) Infrared C-S instrument: Analyze ferroalloys, steelmaking raw materials, and C and S elements in steel.
(2) Direct reading spectrometer: C, Si, Mn, P, S, Cr, Mo, Ni, Cn, Al, W, V, Ti, B, Nb, As, Sn, Sb, Pb, Bi in bulk samples.
(3) N-0 instrument: gas content analysis N, O.
4. Steel management performance inspection
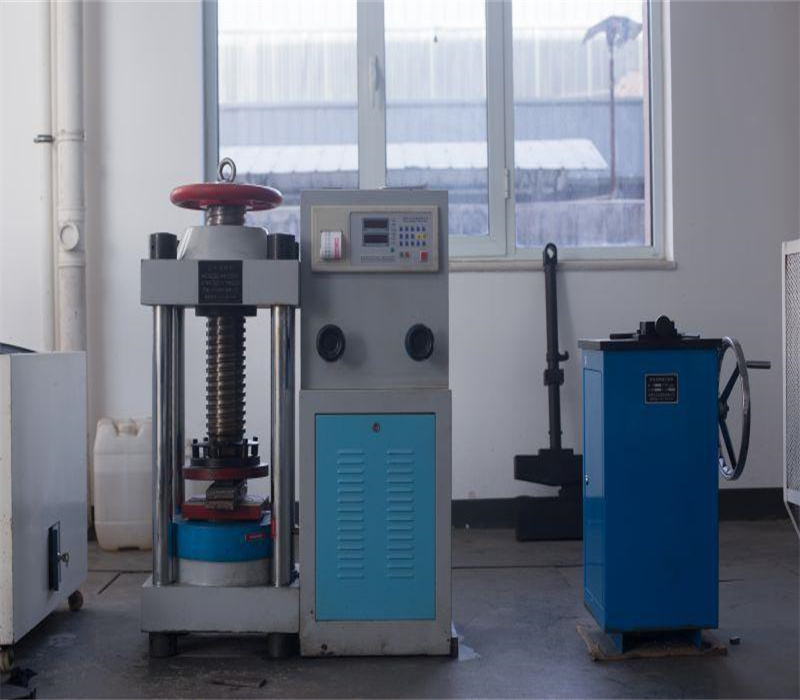
(1) Tensile test: measure stress and deformation, determine the strength (YS, TS) and plasticity index (A, Z) of the material. Longitudinal and transverse sample pipe section, arc shape, circular sample (¢10, ¢12.5) small diameter, thin wall, large diameter, thick wall calibration distance. Note: The elongation of the sample after breaking is related to the size of the sample GB/T 1760
(2) Impact test: CVN, notch C type, V type, work J value J/cm2 standard sample 10×10×55 (mm) non-standard sample 5×10×55 (mm).
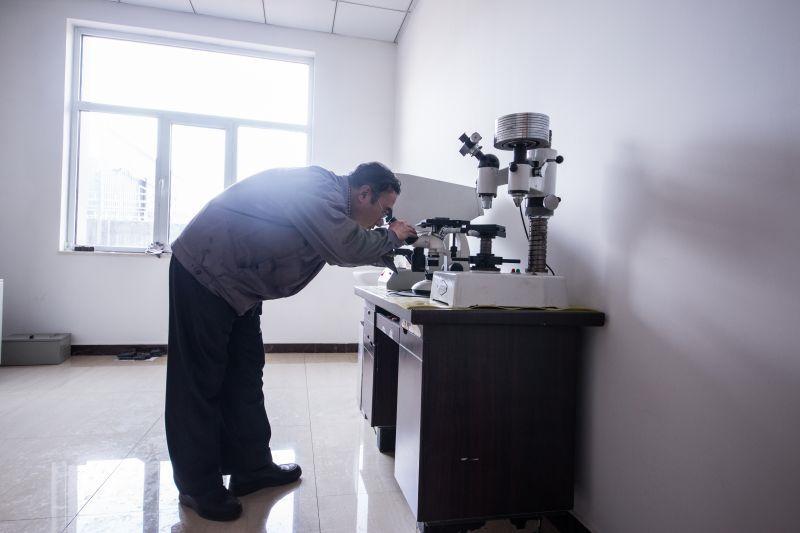
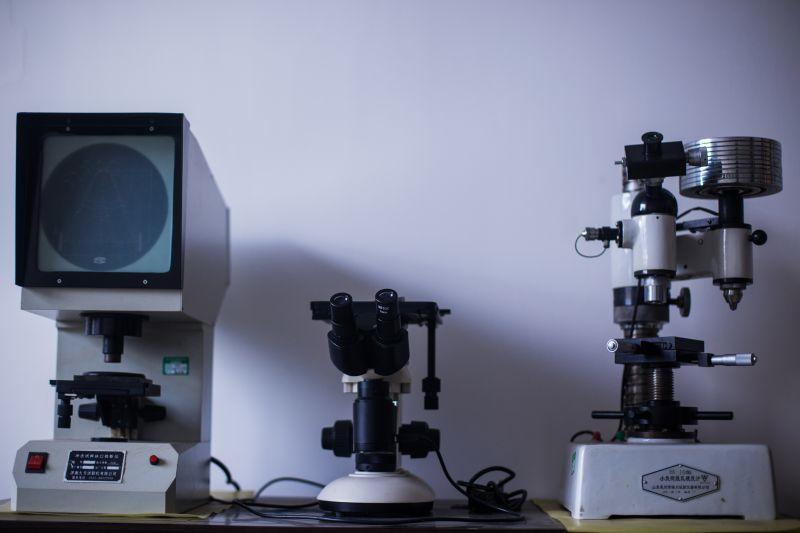
(3) Hardness test: Brinell hardness HB, Rockwell hardness HRC, Vickers hardness HV, etc.
(4) Hydraulic test: test pressure, pressure stabilization time, p=2Sδ/D.
5. Seamless steel pipe process performance inspection
(1) Flattening test: circular sample C-shaped sample (S/D>0.15) H=(1+2)S/(∝+S/D) L=40~100mm, deformation coefficient per unit length=0.07~0.08
(2) Ring pull test: L=15mm, no crack is qualified
(3) Flaring and curling test: the center taper is 30°, 40°, 60°
(4) Bending test: It can replace the flattening test (for large-diameter pipes)
6. Metallographic analysis of seamless pipe
High magnification test (microscopic analysis), low magnification test (macroscopic analysis) tower-shaped hairline test to analyze the grain size of non-metallic inclusions, display low-density tissue and defects (such as looseness, segregation, subcutaneous bubbles, etc.), and inspect the number, length and distribution of hairlines.
Low-magnification structure (macro): Visually visible white spots, inclusions, subcutaneous bubbles, skin turning and delamination are not allowed on the low-magnification inspection cross-sectional acid leaching test pieces of seamless steel pipes.
High-power organization (microscopic): Examine with a high-power electron microscope. Tower hairline test: test the number, length and distribution of hairlines.
Each batch of seamless steel pipes entering the factory shall be accompanied by a quality certificate proving the integrity of the contents of the batch of seamless steel pipes.
Post time: Sep-18-2023
